
DIY Stump Removal: How to Dig, Rot, or Burn It Out
A leftover stump is more than an eyesore. It trips people, sends up suckers, and invites termites and fungus. If you searched stump removal how to , you want a method that works and a clear idea of what you are signing up for.
Here is the short answer. You can dig it out by hand , speed up rot with Epsom salt or nitrogen , or burn it out . Digging takes a day of hard work and is the fastest DIY route. Rotting costs almost nothing but takes one to several years. Burning is quick on paper, but it needs a permit and the right conditions, and it is often not allowed here.
Below, we walk through each method step by step, with the tools you need, realistic time, and cost. We have ground out stumps across Vancouver, Portland, and nearby towns since 2006, so we also flag where DIY stops being worth it , like with huge roots or stumps near utilities. Check local burn rules before you start.
Pick your method and let's get to work.
Before you start: pick the right method
Every stump removal diy project is a trade between three things: time, effort, and deadline . Most people pick a method because a video made it look easy, then hit a wall at hour four. Spend ten minutes choosing first and you can save yourself a weekend.
How the three methods compare
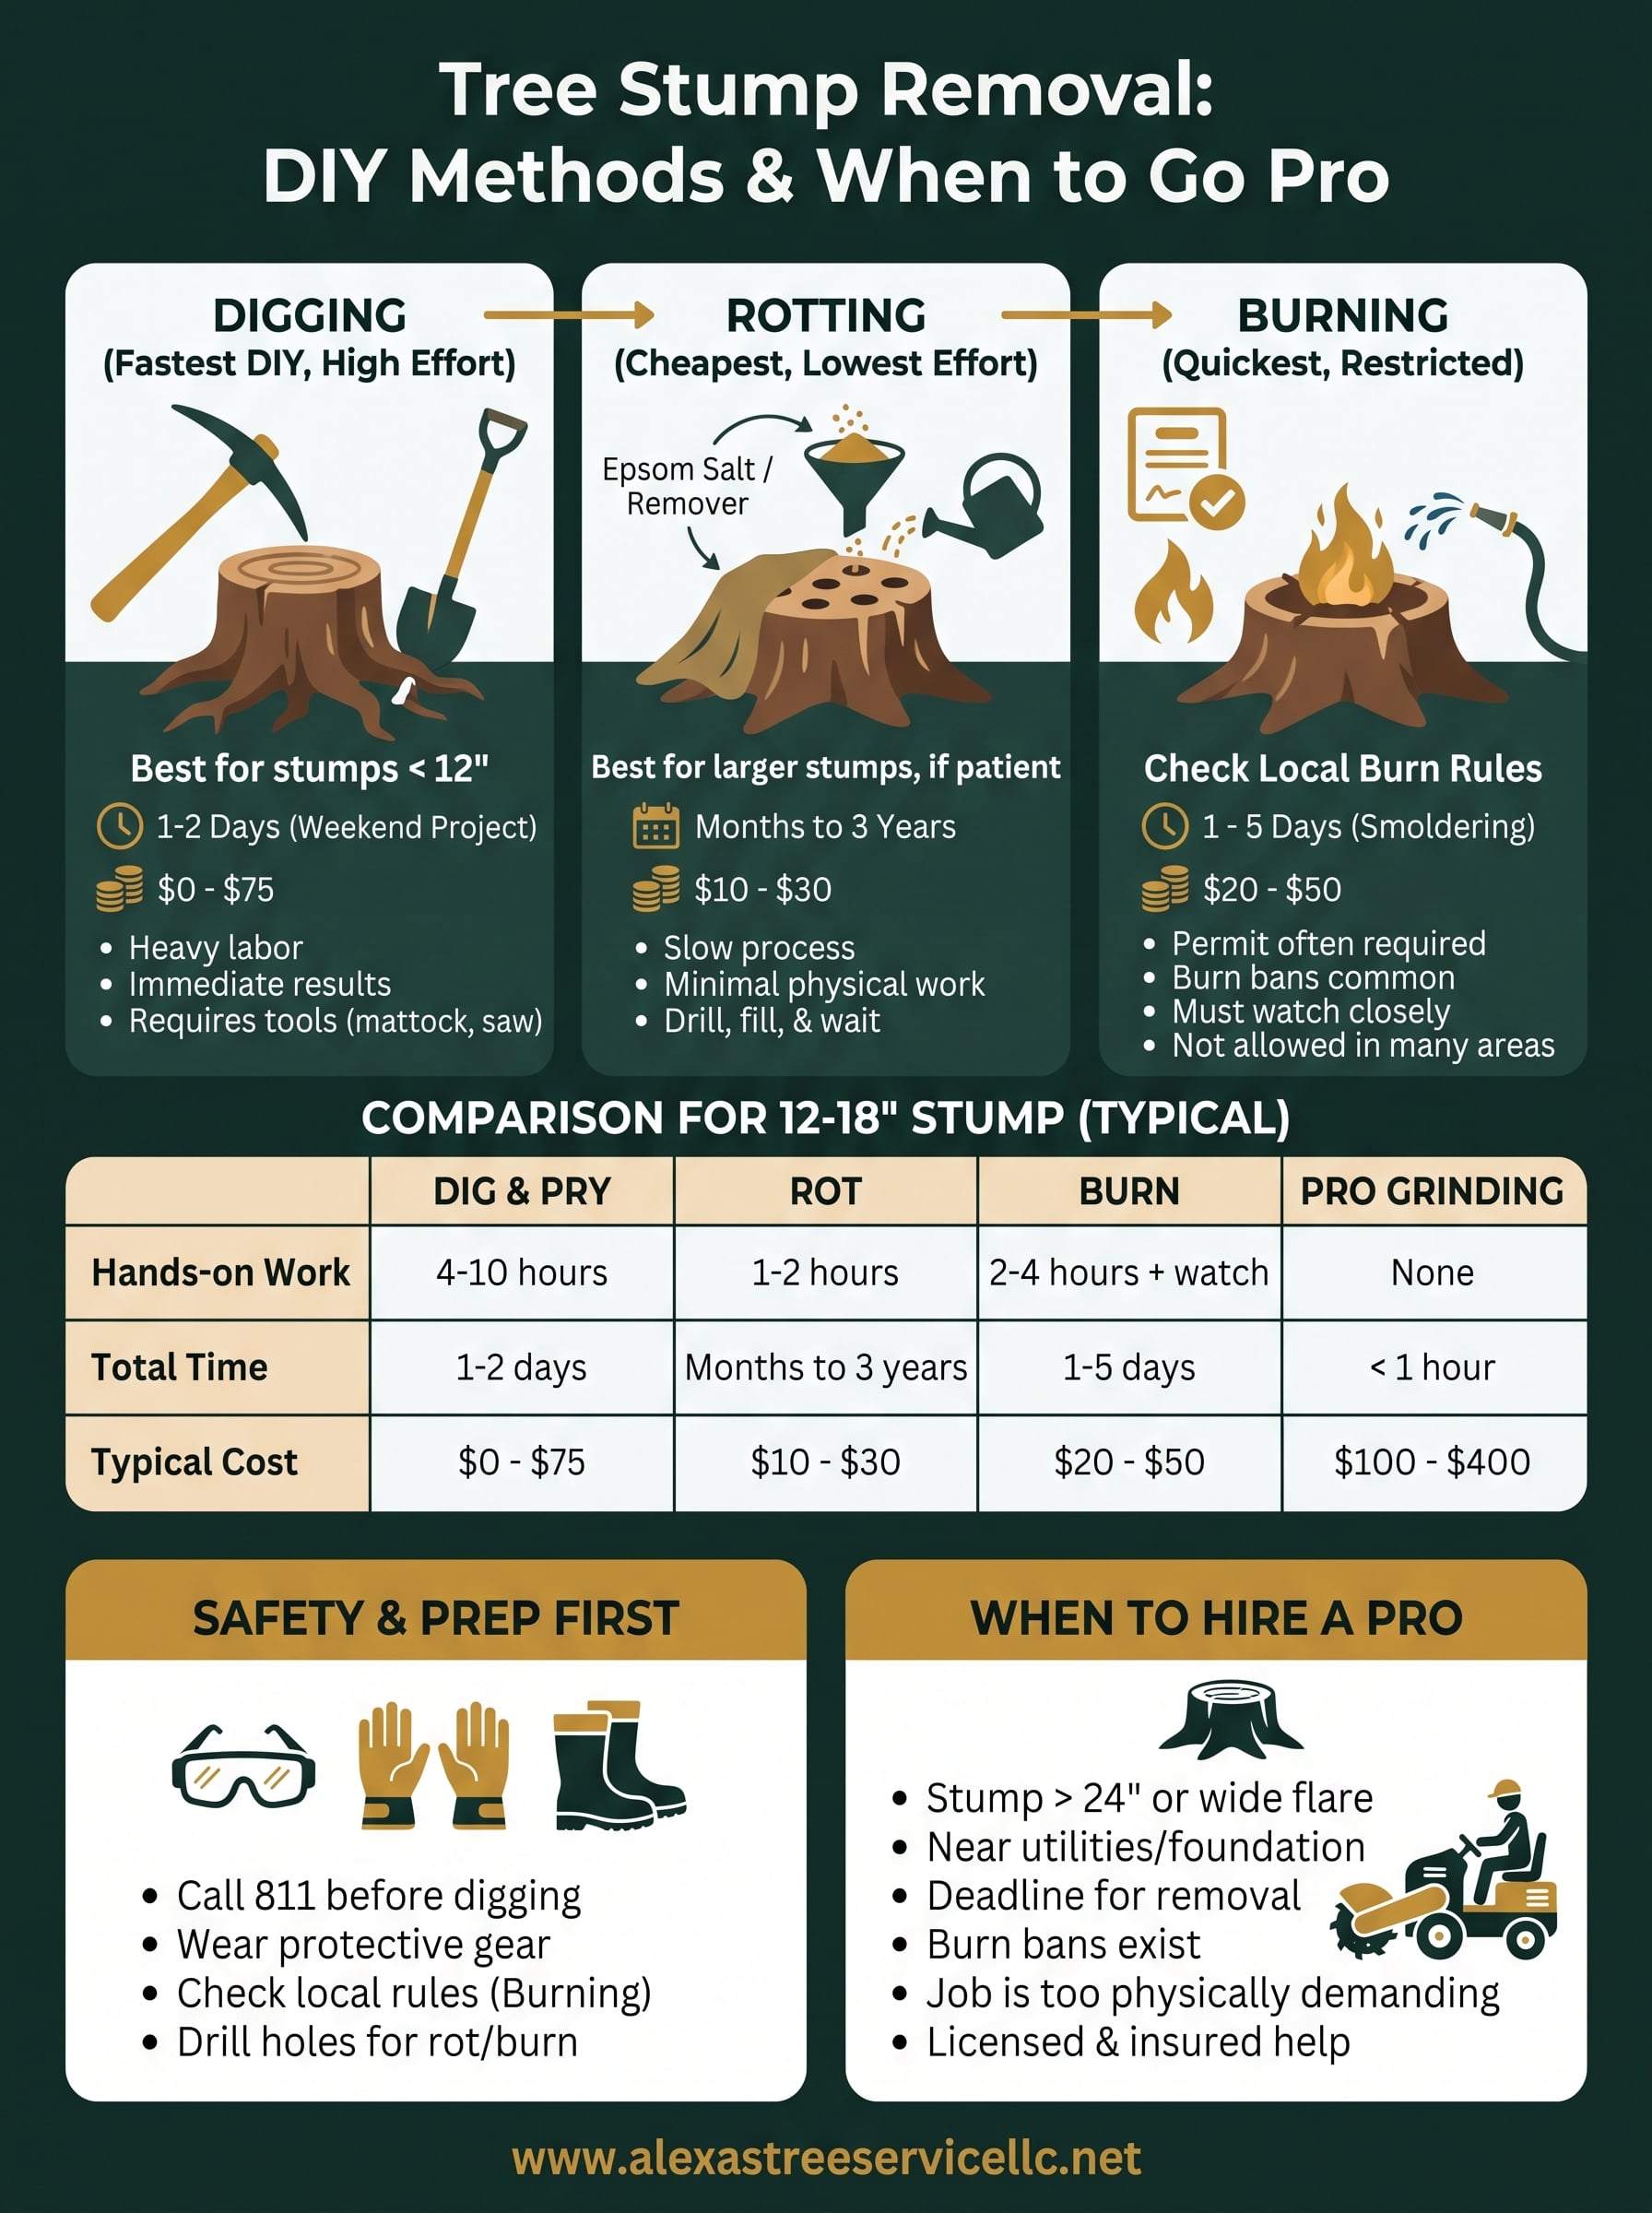
Here is the honest comparison. The numbers assume a stump about 12 to 18 inches across. Costs are typical retail prices, not quotes.
| Method | Hands-on work | Total time | Typical cost | Main drawback |
|---|---|---|---|---|
| Dig and pry | 4 to 10 hours | 1 to 2 days | $0 to $75 for a mattock, loppers, and a pruning saw | Heavy labor |
| Epsom salt or stump remover | 1 to 2 hours | Months to 3 years | $10 to $30 | Slow, and still needs finishing |
| Burning | 2 to 4 hours of setup and tending | 1 to 5 days of smoldering | $20 to $50 for fuel | Permit required, often banned |
Notice that the cheapest method is also the slowest. Digging is the only do it yourself stump removal option that finishes in a weekend. Rotting is the only one you can do with a bad back, as long as you can wait.
Match the method to your stump
Size and species decide more than your preference does. Bigleaf maple and alder rot faster than oak or madrone. Douglas fir stumps throw out wide, tough roots that fight a shovel. Use these rules of thumb to narrow your choice:
- Under 12 inches across: dig it out. There are few roots, and it is usually an afternoon of work.
- 12 to 24 inches: dig if you have a free weekend and a helper. If not, start the rotting treatment now and dig after the wood softens.
- Over 24 inches, or a wide root flare: rot it, or hire a grinder. Hand-digging a stump this size can eat several days.
- Need the spot cleared by a set date: dig. Nothing else on this list is reliable on a deadline.
Pick your method by deadline first, then by stump size, and only then by cost.
Treat that order as a rule. People who start with cost choose rotting, then get annoyed in month eight when the stump is still in the way of a new fence or garden bed.
Know when to stop before you start
Some stumps are not good candidates for tree stump removal diy , no matter how patient you are. Skip it if the stump sits within a few feet of a foundation, retaining wall, septic line, or driveway. Pulling out a big root mass can shift soil and crack things you cannot see. Anything near a gas, water, or electric line needs a locate request first, and Step 2 shows you how.
Burning deserves extra caution. Many areas around Vancouver and Portland restrict or ban open burning, and a stump can smolder underground for days. Read Step 6 before you buy a single gallon of fuel. If your stump fails any check in this section, the safest move is a quick call to a pro for a stump grinding quote.
Step 1. Gather tools and safety gear
Any good stump removal how to starts at the hardware store, not at the stump. Get everything together before you swing a tool. Stopping mid-dig to hunt for a saw is how a Saturday project becomes a Sunday one.
Tools for each method
The method you picked in the last section sets your shopping list. Digging needs the most gear. Rotting needs the least.
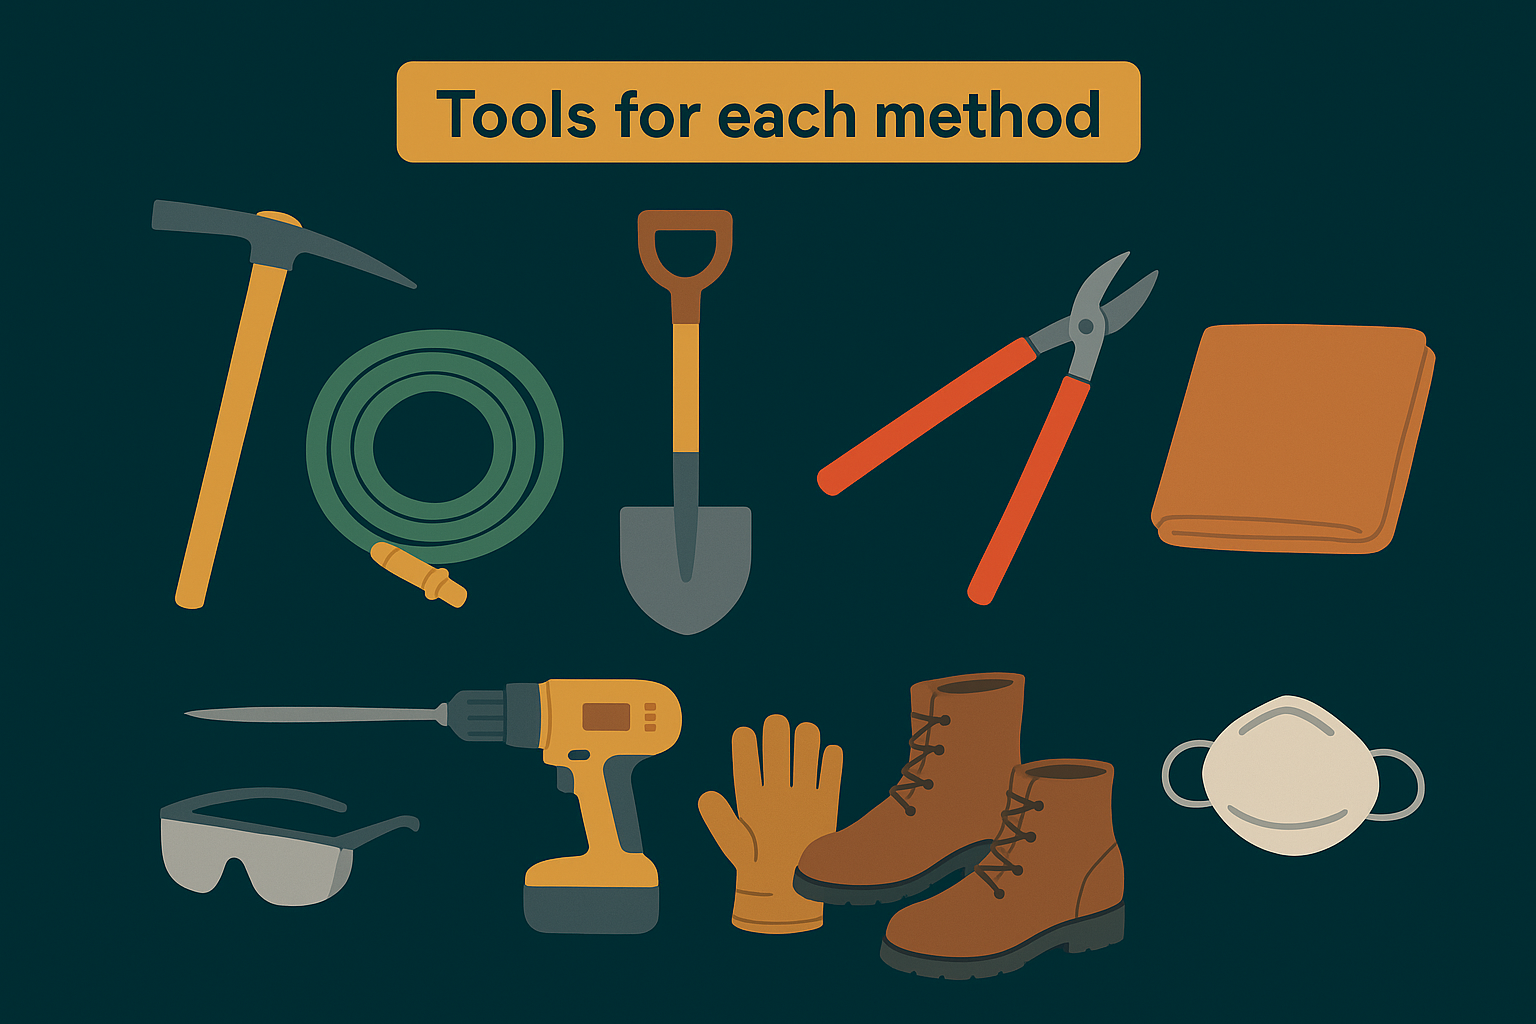
| Tool | Dig and pry | Rot | Burn |
|---|---|---|---|
| Mattock or digging bar | Yes | No | No |
| Round-point shovel | Yes | For backfill | Yes |
| Loppers and pruning saw | Yes | No | No |
| Drill with 1-inch spade bit | No | Yes | Yes |
| Garden hose | Helpful | Yes | Required |
| Tarp | Yes | Yes | No |
A mattock does most of the work in a dig. It has an axe blade on one side and a wide adze on the other, so you can chop roots and loosen soil without switching tools. For roots thicker than 3 inches, rent a reciprocating saw with a long pruning blade. It costs far less than a day of sawing by hand.
For rotting or burning, the drill is the key piece. You will bore deep holes into the top of the stump so the treatment soaks in or the fire has air. A dull bit will wear you out, so start with a sharp one.
Safety gear you should not skip
Safety gear is cheap compared with an emergency room visit. Roots snap, soil flies, and a mattock swung at a hidden rock can bounce back at you. Here is the minimum:
- Safety glasses for every method, including drilling.
- Leather work gloves to prevent blisters and splinters.
- Steel-toe or sturdy leather boots and long pants.
- Hearing protection if you rent any power saw.
- A dust mask when you handle powdered stump remover.
Protect your eyes, hands, and feet first. The stump will still be there when you are ready.
Two extra items are worth having. Keep a first aid kit within reach, and bring a helper for any stump over 12 inches. Two people can move a root ball and watch for trouble. If you plan do it yourself tree stump removal on a slope or near a fence, a second set of eyes matters even more.
Once your gear is laid out and your phone is charged, you are ready to prep the stump.
Step 2. Cut the stump and check for utilities
Prep decides how smooth the dig goes. Trim the stump to a workable height, then confirm that nothing is buried where you plan to swing a mattock. Skip either task and a stump removal do it yourself project can turn into a repair bill.
Cut the stump to a workable height
Start with the saw. If a tall trunk is still standing, cut it down. For digging, leave 12 to 18 inches of stump. That stub works as a handle you can rock and lever once the roots are free. For rotting or burning, cut it as low as you safely can , because less exposed wood means less to soften or burn.
Use a pruning saw or bow saw on anything under 8 inches across. A chainsaw is faster on bigger wood, but only use one if you have run one before. Keep the bar out of the dirt. One touch of soil dulls a chain in seconds.
- Clear brush, rocks, and debris within 3 feet of the stump.
- Set your feet wide and cut level, away from your legs.
- Stop the cut an inch above the soil line.
- Pull off loose bark so you can see the root flare.
Call 811 before you dig
Next, make the call. Dial 811 or submit a request online at least two business days before you dig. Washington and Oregon both run free locate services, and utility crews will mark buried lines with paint or flags. A big stump often sits close to a service line, because trees were planted along the same strips that carry utilities.
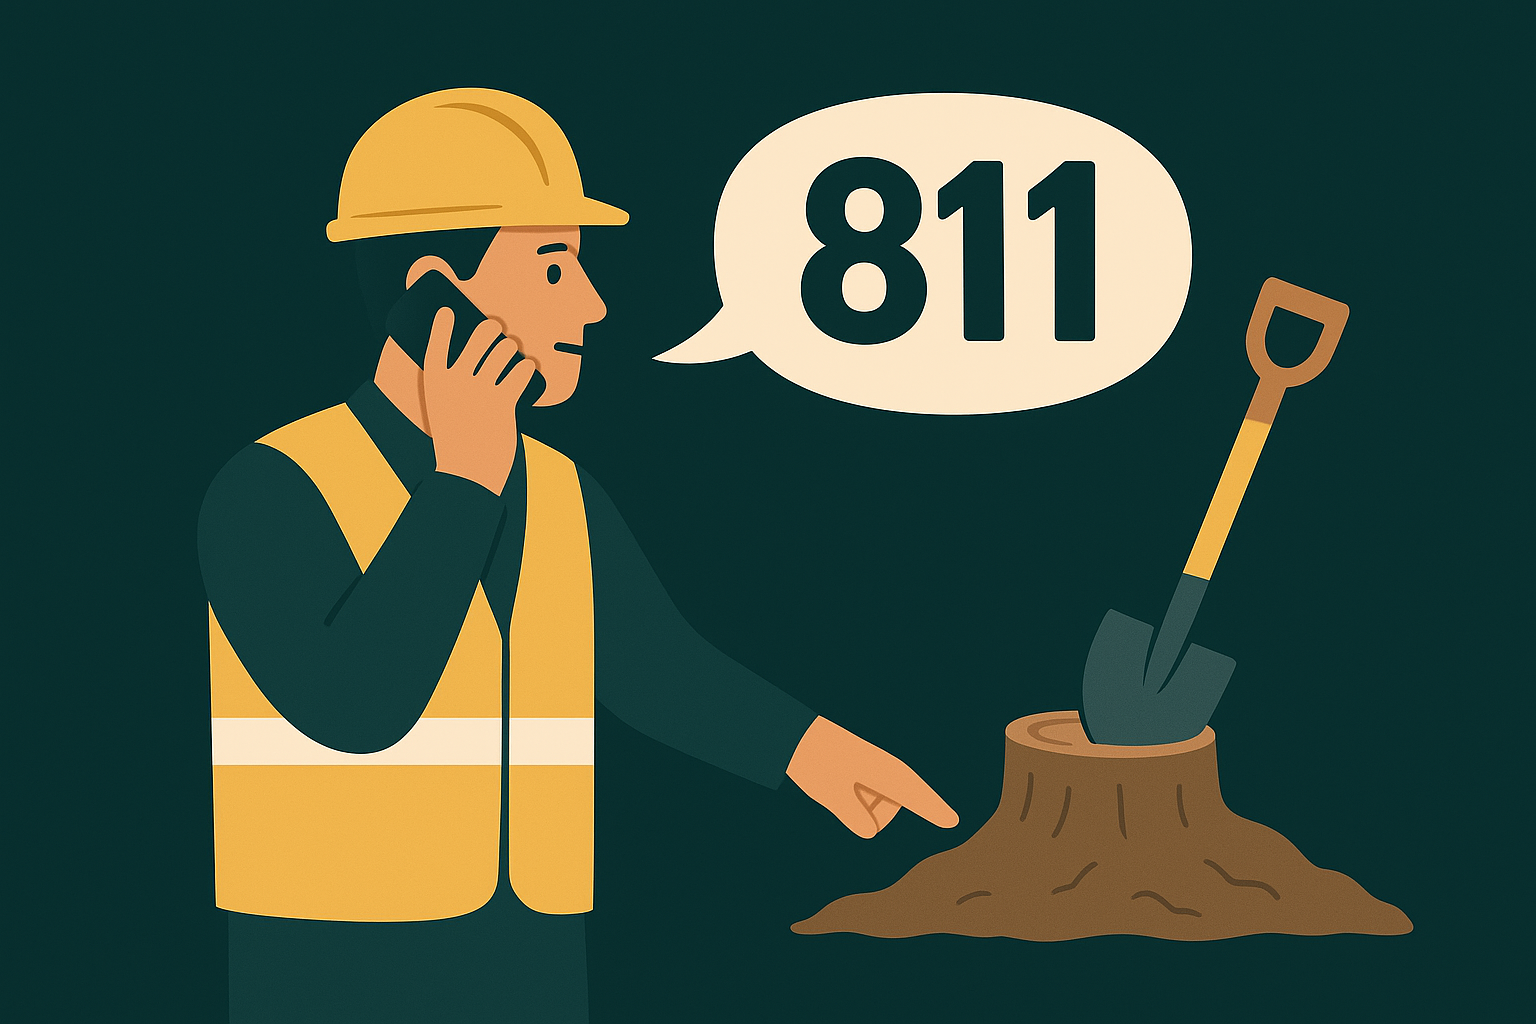
Call 811 first, wait for the paint, then pick up the mattock.
Markers follow a standard color code, so you can read them yourself:
| Color | Line |
|---|---|
| Red | Electric |
| Yellow | Gas, oil, or steam |
| Orange | Communications |
| Blue | Drinking water |
| Green | Sewer and drain |
Private lines are the catch. The 811 crews do not mark sprinkler lines, landscape lighting, or a gas feed to a grill , so trace those yourself. If a marked line runs within a few feet of the stump, stop and get a pro to look at it. Hand-digging beside a live line is not worth the risk.
Step 3. Dig out and cut the roots
This is the part of any stump removal how to that earns the word "hard." You work the soil away from the stump and cut every root that holds it . Go slow, and take it one section at a time so nothing shifts on you.
Expose the roots
Start with a trench around the stump, about 12 inches out and 12 inches deep . Shovel the soil onto your tarp, because you will need it for backfill in Step 4. Then rinse the roots with a hose . Clean roots show you where to cut, and dirt dulls every blade you own.
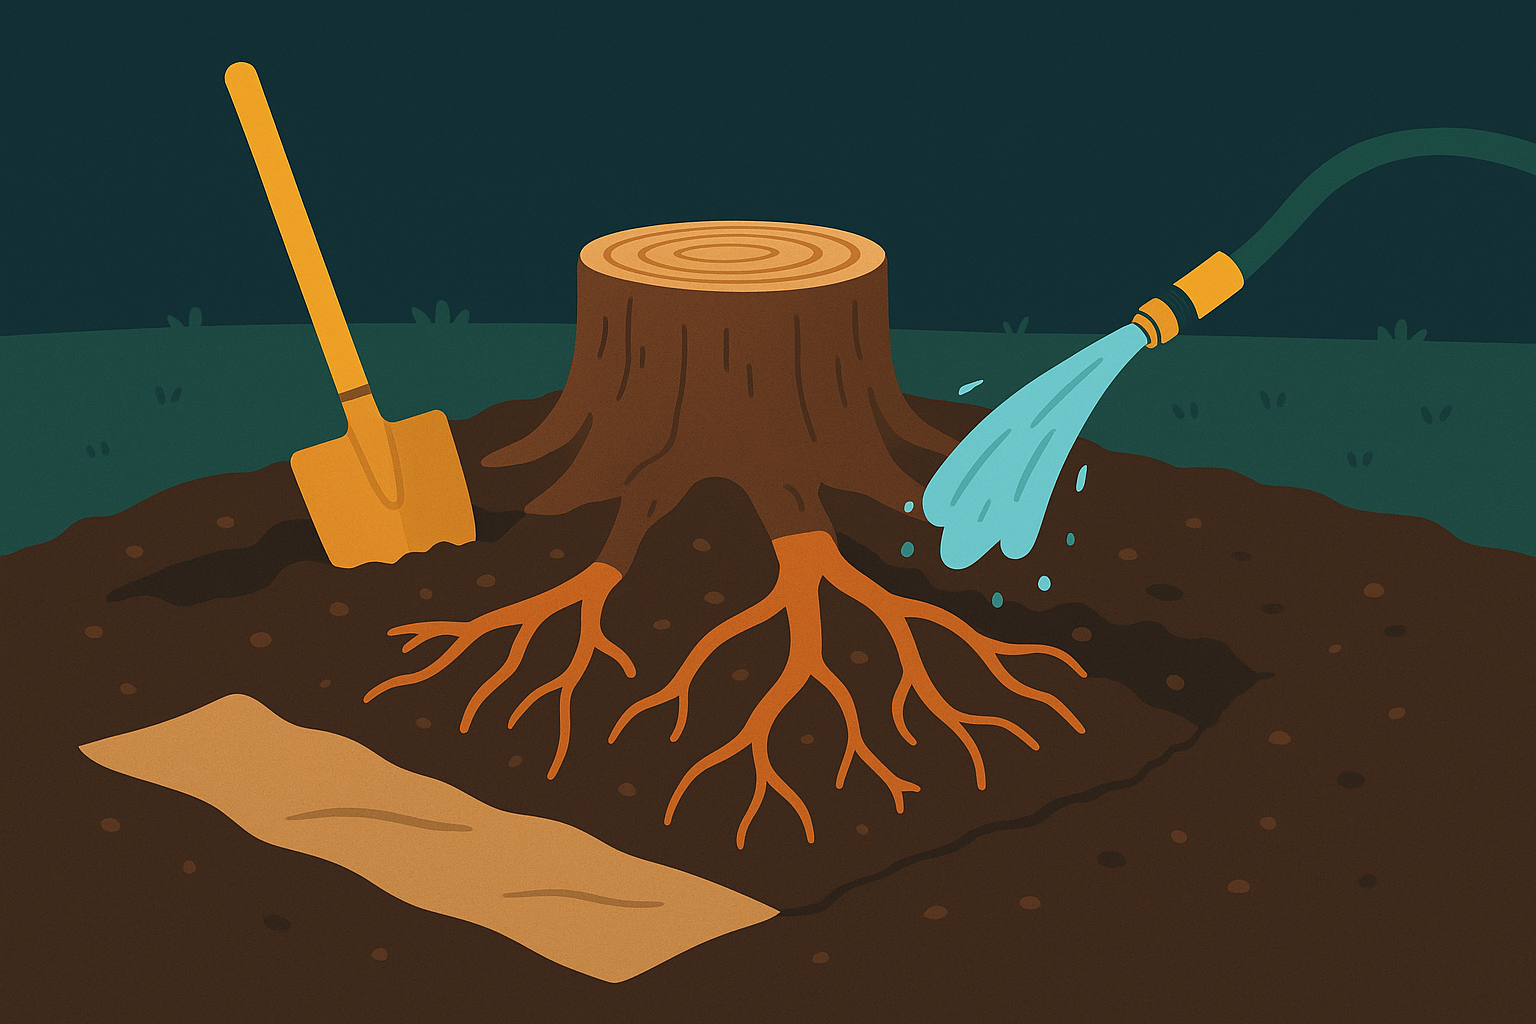
- Dig a full circle around the stump.
- Follow each main root outward until it dives deep or thins to pencil size.
- Loosen packed soil with the mattock's flat adze side.
- Spray-paint thick roots so you do not miss one.
Cut the roots free
Match the tool to the root. Using the wrong one wastes energy and wrecks edges.
| Root thickness | Best tool |
|---|---|
| Under 2 inches | Loppers |
| 2 to 3 inches | Pruning saw |
| Over 3 inches | Reciprocating saw or the mattock's axe blade |
Cut each root as close to the stump as you can reach . Short stubs left in the ground rot on their own, so do not chase them. Angle the mattock blade away from your feet, and stop swinging if you hear metal or hit stone. A struck rock can chip the blade or kick the tool back at you.
Cut every root you can see, then dig again to find the ones you missed.
Deal with the taproot
Most stumps also have a taproot that runs straight down. Douglas fir and oak are the worst for this. Dig a deep notch on one side and undercut the stump at an angle , then saw or chop the taproot from below. Rock the stub every few minutes. When it moves freely in every direction, the roots are cut and you are ready to pull it.
If the stump still will not budge after you have cut everything you can find, do not force it with a truck or chain. Dig deeper and look for a root you overlooked. Most stubborn stumps have one more hiding on the far side.
Step 4. Pry out the stump and fill the hole
Once every root is cut, the stump is ready to leave. This is the finishing move in any stump removal how to, and it goes faster than the digging did. Work with leverage, not muscle , and keep your feet clear of the hole the whole time.
Pry the stump loose
Push the stump over in each direction to feel where it still holds. Slip a long digging bar or a sturdy shovel handle under the edge and lever it up. A block of wood under the bar works as a fulcrum and gives you far more lift. If the stump tips but will not leave the hole, a root is still holding it , so cut that root instead of pulling harder.
- Rock the stump side to side until it moves freely.
- Dig deeper wherever it resists, then cut the hidden root.
- Lever the stump up with the bar and the wood block.
- Roll it onto the tarp, bending your knees and not your back.
A stump that will not lift has a root left, so find it and cut it.
Haul the stump away
Wet wood is heavy. A 12-inch stump with its root ball can top 100 pounds , so lift it with a helper or drag it on the tarp. If it is too heavy to move, saw it into sections right in the yard. Hardwood chunks make decent firewood once they dry. Fir and cedar pieces usually go in the yard debris bin, but check your hauler's size and weight limits first.
Do not leave the stump pile near the house. Rotting wood draws carpenter ants and termites, so move it well away from siding and decks.
Fill and level the hole
Filling is where most people rush and regret it. Shovel the soil from your tarp back in 6-inch layers , and tamp each layer with the end of a post or your boot. Packing as you go keeps the patch from sinking into a bowl a month later. Pull out any leftover root chunks and rocks as you work.
The hole will not hold all the soil you dug out, because the stump took up space. Add clean topsoil to make up the difference, and mound it two or three inches above grade. Expect it to settle by about an inch or two over the first season. Top it off in spring, then seed grass or plant right away.
Step 5. Rot it with Epsom salt or stump remover
If you can wait, rotting is the easiest stump removal how to on this list. You drill, fill, and wait , and the stump does the rest. Plan on months to a few years , depending on the species and the size of the stump.
Choose your treatment
Two products do the job, and they work differently.
| Product | How it works | Typical cost | Speed |
|---|---|---|---|
| Epsom salt | Pulls moisture out and dries the wood | $10 to $15 | Slowest |
| Potassium nitrate stump remover | Feeds the fungi and bacteria that break wood down | $15 to $30 | Faster, but still a year or more |
Here is my take. Epsom salt is cheap and safe to handle, but the evidence for it is mostly anecdotal. Stump remover is the better bet because it supports the natural decay process. Either way, keep your expectations modest.
Drill, fill, and cover
Cut the stump as low as you safely can, as covered in Step 2. Then work through this list:
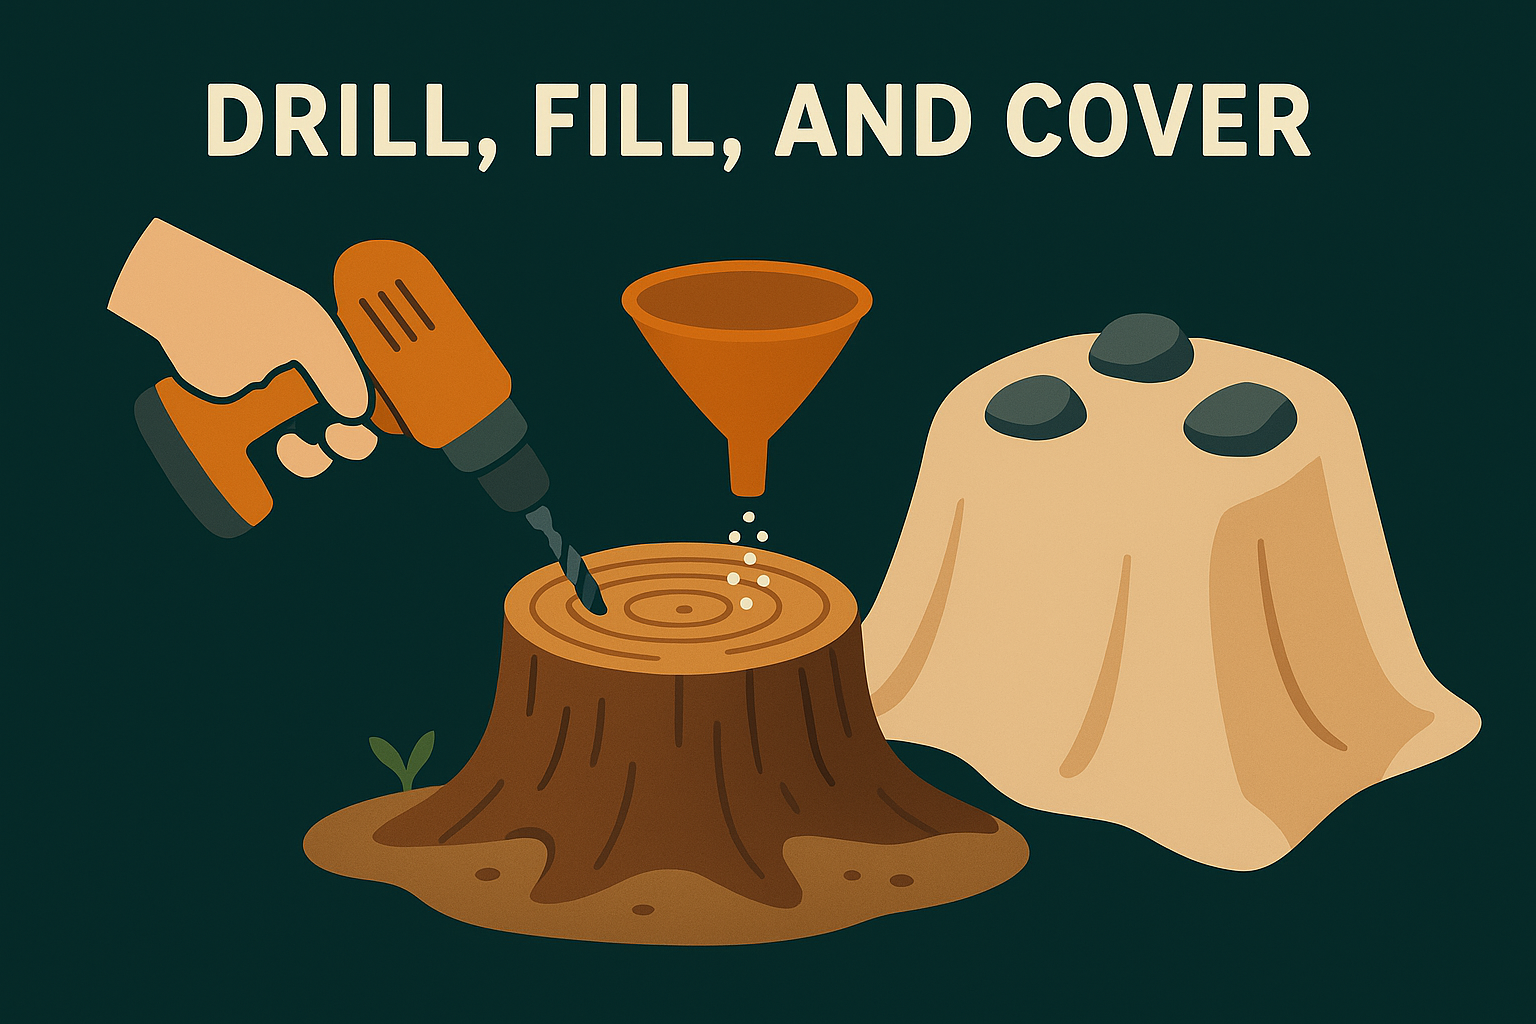
- Drill holes 1 inch wide and 8 to 10 inches deep, spaced 2 to 3 inches apart across the top.
- Drill a few angled holes into the sides, close to the soil line.
- Use a funnel to fill each hole with Epsom salt or stump remover.
- Pour in warm water until the granules dissolve and the holes are full.
- Cover the stump with a tarp and weigh it down with rocks, so rain does not wash the treatment out.
- Refill the holes every 4 to 6 weeks, or follow the product label.
Wood this treated will not vanish by itself. Rot only softens the stump. You still have to break it up at the end.
Rot softens the stump, but you still finish the job with an axe and a shovel.
Finish the job
Test the wood once a month with a screwdriver. When it sinks in easily and the stump feels spongy, chop it apart with an axe or the mattock from Step 1. Wear your safety glasses and a dust mask , because rotted wood throws up spores and splinters. Dig out the remains and fill the hole as described in Step 4.
One warning before you move on. Potassium nitrate can leave wood much more flammable , so never try to burn a stump you have treated, even if Step 6 tells you burning is allowed where you live. Keep kids and pets away from the tarp too, and read the product label for any other limits.
Step 6. Burn the stump safely, if it's allowed
Burning is the method I talk people out of most often. It sounds simple, but a stump can smolder below grade for days, and open burning is banned or restricted across much of Clark County and the Portland metro. In any stump removal how to, this is the step where you confirm the rules before you buy a single bag of charcoal.
Check the rules first
Permission comes before fuel. Call the Southwest Clean Air Agency for Clark County, or Oregon DEQ and your local fire district on the Portland side. Ask three questions:
- Is burning a stump allowed at my address?
- Do I need a permit?
- Is a burn ban in effect today?
Summer bans are common, and rules can change from one side of a city line to the other. If anyone says no, skip this step and go back to digging or rotting.
Set up and burn
Assuming you have approval, pick a calm, cool day with no wind. Keep the stump at least 30 feet from buildings, fences, and overhanging branches, and connect a hose before you light anything.
- Cut the stump low and drill 1-inch holes 8 to 10 inches deep across the top, as in Step 5. Do not add stump remover.
- Stack dry firewood or charcoal over the stump. Never use gasoline or other accelerants.
- Light it and keep the fire small. Stay close enough to reach it in seconds.
- Rake burning pieces back toward the center as the wood burns down.
- Let the flames die on their own, then keep checking through the day.
Expect the stump to smolder for one to five days. That is why the fire needs a watcher, not just a match.
Put it out completely
Finish by drowning it. Soak the ashes and the soil around the stump, stir with a shovel, and soak again. Burning roots can carry fire underground , so probe the area with the shovel and check it every few hours for the next two days.
If you cannot watch the fire from start to finish, do not light it.
Once everything is cold to the touch, break up the charred wood, dig out what remains, and fill the hole as described in Step 4. Wear safety glasses and gloves , because charcoal and ash cling to everything and hide hot spots longer than you would expect.
Step 7. Stop regrowth and repair the area
Pulling the stump is not always the end of the job. Some species send up shoots from any root left behind, so a little follow-up keeps this stump removal how to from turning into a yearly chore. Then you can put the yard back together.
Stop suckers before they start
Bigleaf maple, cherry, poplar, willow, and black locust are the worst offenders. If you dug the stump out and removed the main roots , regrowth is rare. Snip any sprout at ground level the day you see it. Repeated cutting works because each new shoot burns through energy stored in the roots .
Cut suckers early and often, because every leaf they grow feeds the roots you want dead.
If a rotting stump is still standing, or suckers keep returning, treat them with herbicide. Use a brush killer that contains glyphosate or triclopyr, and follow this order:
- Make a fresh cut across the stump or sucker.
- Within a few minutes, brush the concentrate onto the ring just inside the bark, where the living wood is.
- Keep it off nearby lawn and plants, and skip windy or rainy days.
- Wear gloves and safety glasses, and read the label for limits.
Never use this near a tree you want to keep. Roots of the same species can graft together and carry the chemical across.
Repair the ground
Check the filled hole two or three weeks after you finish. Soil settles , so top up any dip with clean topsoil and tamp it lightly. Pull out mushrooms or wood chunks that surface. They are harmless, but they mean old roots are still breaking down underneath.
Fall is the best time to seed in the Pacific Northwest, because the rain does most of the watering. Rake the patch smooth, scatter grass seed that matches your lawn, and cover it with a thin layer of straw. Water lightly every day until the seed sprouts, usually within two weeks.
For a garden bed, mix compost into the top 6 inches and plant perennials or shrubs. Hold off on planting a new tree in the same spot. Leftover roots and soil that is still settling make a poor start, so set it a few feet away instead.
When the patch is green and level, your do-it-yourself project is done . If suckers or stubborn roots keep fighting you, the next section explains what a pro would charge to finish the job.
Costs, timelines, and when to hire a pro
What each route really costs
Money is only part of any stump removal how to decision. Your time counts too. This table uses the same 12 to 18 inch stump as the comparison earlier, with typical prices rather than quotes.
| Route | Cash cost | Your time | Wait |
|---|---|---|---|
| Dig and pry | $0 to $75, more if you rent a saw | 4 to 10 hours | 1 to 2 days |
| Epsom salt or stump remover | $10 to $30 | 1 to 2 hours, plus refills | Months to 3 years |
| Burning | $20 to $50 | 2 to 4 hours, plus watching | 1 to 5 days |
| Professional grinding | Roughly $100 to $400 per stump | None | Usually under an hour |
Grinding prices climb with stump diameter, root spread, and tight access . Several stumps in one visit usually bring the price per stump down. Always get a free written estimate before you agree to anything.
Signs it's time to call a pro
Some jobs are cheaper to hand off than to finish. Count the cost of a rental, a sore back, and a lost weekend, and a grinder often looks fair. Call a pro if any of these apply:
- The stump is over 24 inches across or has a wide root flare.
- A marked utility line, septic tank, or foundation sits within a few feet.
- Roots run under a driveway, patio, or retaining wall.
- The stump is on a slope or behind a gate too narrow for a wheelbarrow.
- You have dug for eight hours and the stump still has not moved.
- You need the spot cleared by a fixed date, and burning is not allowed.
If a mistake could damage a buried line or a foundation, the savings are not worth the risk.
Hiring out also brings licensed, insured help . That matters most when a stump sits near a house, a fence, or a property line, because a slip with a mattock or a chainsaw costs far more than the quote.
Finally, there is a middle path. A crew can grind the stump below grade in one visit, and you handle the topsoil, seed, and planting yourself using Step 7. That keeps the hard, risky part with the people who have the machine and still saves you most of the cleanup bill.
Choosing the method that fits your yard
The best stump removal how to is the one that matches your deadline , your stump size, and your back. Digging is fastest , rotting is cheapest, and burning only works where local rules allow it. Whatever you choose, call 811 before you dig, wear your safety gear, and finish with regrowth control and a level patch of soil.
Not every stump is a weekend project, and that is fine. If yours is huge, sits near a buried line or foundation, or has beaten you after a full day, a grinder is the smarter call . Our licensed and insured crew has cleared stumps around Vancouver, Portland, and nearby towns since 2006. Get a free stump grinding estimate from Alexa's Tree Service and we will tell you honestly what your stump takes.