
How to Trim a Tree: Techniques, Timing, and Tools
That overgrown maple hanging over your roof or the crossed branches rubbing against each other in your backyard oak won't fix themselves. Trimming tree branches the wrong way, or at the wrong time of year, can stress the tree, invite disease, or leave you with a lopsided canopy that takes years to recover. If you've been putting off pruning because you're not sure where to cut or which saw to grab, you're not alone, and it helps to know how to trim an overgrown tree without harming it.
This guide walks you through tree trimming pruning the way we do it on job sites across Vancouver and Portland: identifying which branches need to go, making clean cuts that heal fast, and timing the work around each species' dormant season. You'll learn the difference between a light trim and a structural prune, and why the wrong approach can do more harm than skipping the job altogether.
We'll cover tree trimming how to basics for common Pacific Northwest trees, the hand tools and equipment you actually need, and the safety line you shouldn't cross without calling a professional. After 15 years trimming trees in this region's wet winters and windy storms, we've seen what works and what ends up costing homeowners a second visit.
Why proper tree trimming matters
A tree left untrimmed for years doesn't just look messy, it becomes a liability. Deadwood accumulates, weight distributes unevenly across the canopy, and branches start competing for light in ways that weaken the whole structure. We've pulled up to plenty of properties across our Camas tree care service area and Battle Ground where a single storm turned a neglected tree into a roof repair bill, simply because nobody addressed the warning signs sooner.
A tree trimmed on schedule rarely becomes an emergency call.
Health and structure
Removing dead, diseased, or crossing limbs redirects the tree's energy toward strong, productive growth instead of wasted repair work. Proper pruning also opens the canopy to airflow and sunlight, which cuts down on fungal issues that thrive in the Pacific Northwest's damp climate. Trees with structural problems, like a split trunk or a heavy lean, often need more than trimming. That's where storm-ready bracing solutions come in, supporting weak unions before they fail outright.
Safety for your property
Overextended branches near rooflines, power lines, or driveways are a hazard waiting for the next windstorm to arrive. Storm season in our region isn't a maybe, it's an annual event, and trees that haven't been trimmed are the ones that come down hardest. Property owners who wait until after a storm usually end up calling our emergency crew for wind damage and fallen branches instead of scheduling a routine trim that would've prevented the damage entirely.
Long-term value
Well-maintained trees add real value to a property, both in appearance and in appraisal. Buyers notice a lopsided, overgrown canopy the same way they notice a cracked driveway. Consistent trimming, paired with a seasonal upkeep program for your property's trees, keeps trees looking intentional rather than neglected and protects the investment you've already made in your landscape.
Skipping trimming doesn't save you work, it just delays it and raises the cost. A tree that's pruned every year or two stays manageable with hand tools and a short afternoon. One that's ignored for a decade often needs equipment, permits, and sometimes full removal instead of a simple cleanup.
Step 1. Choose the right time to trim
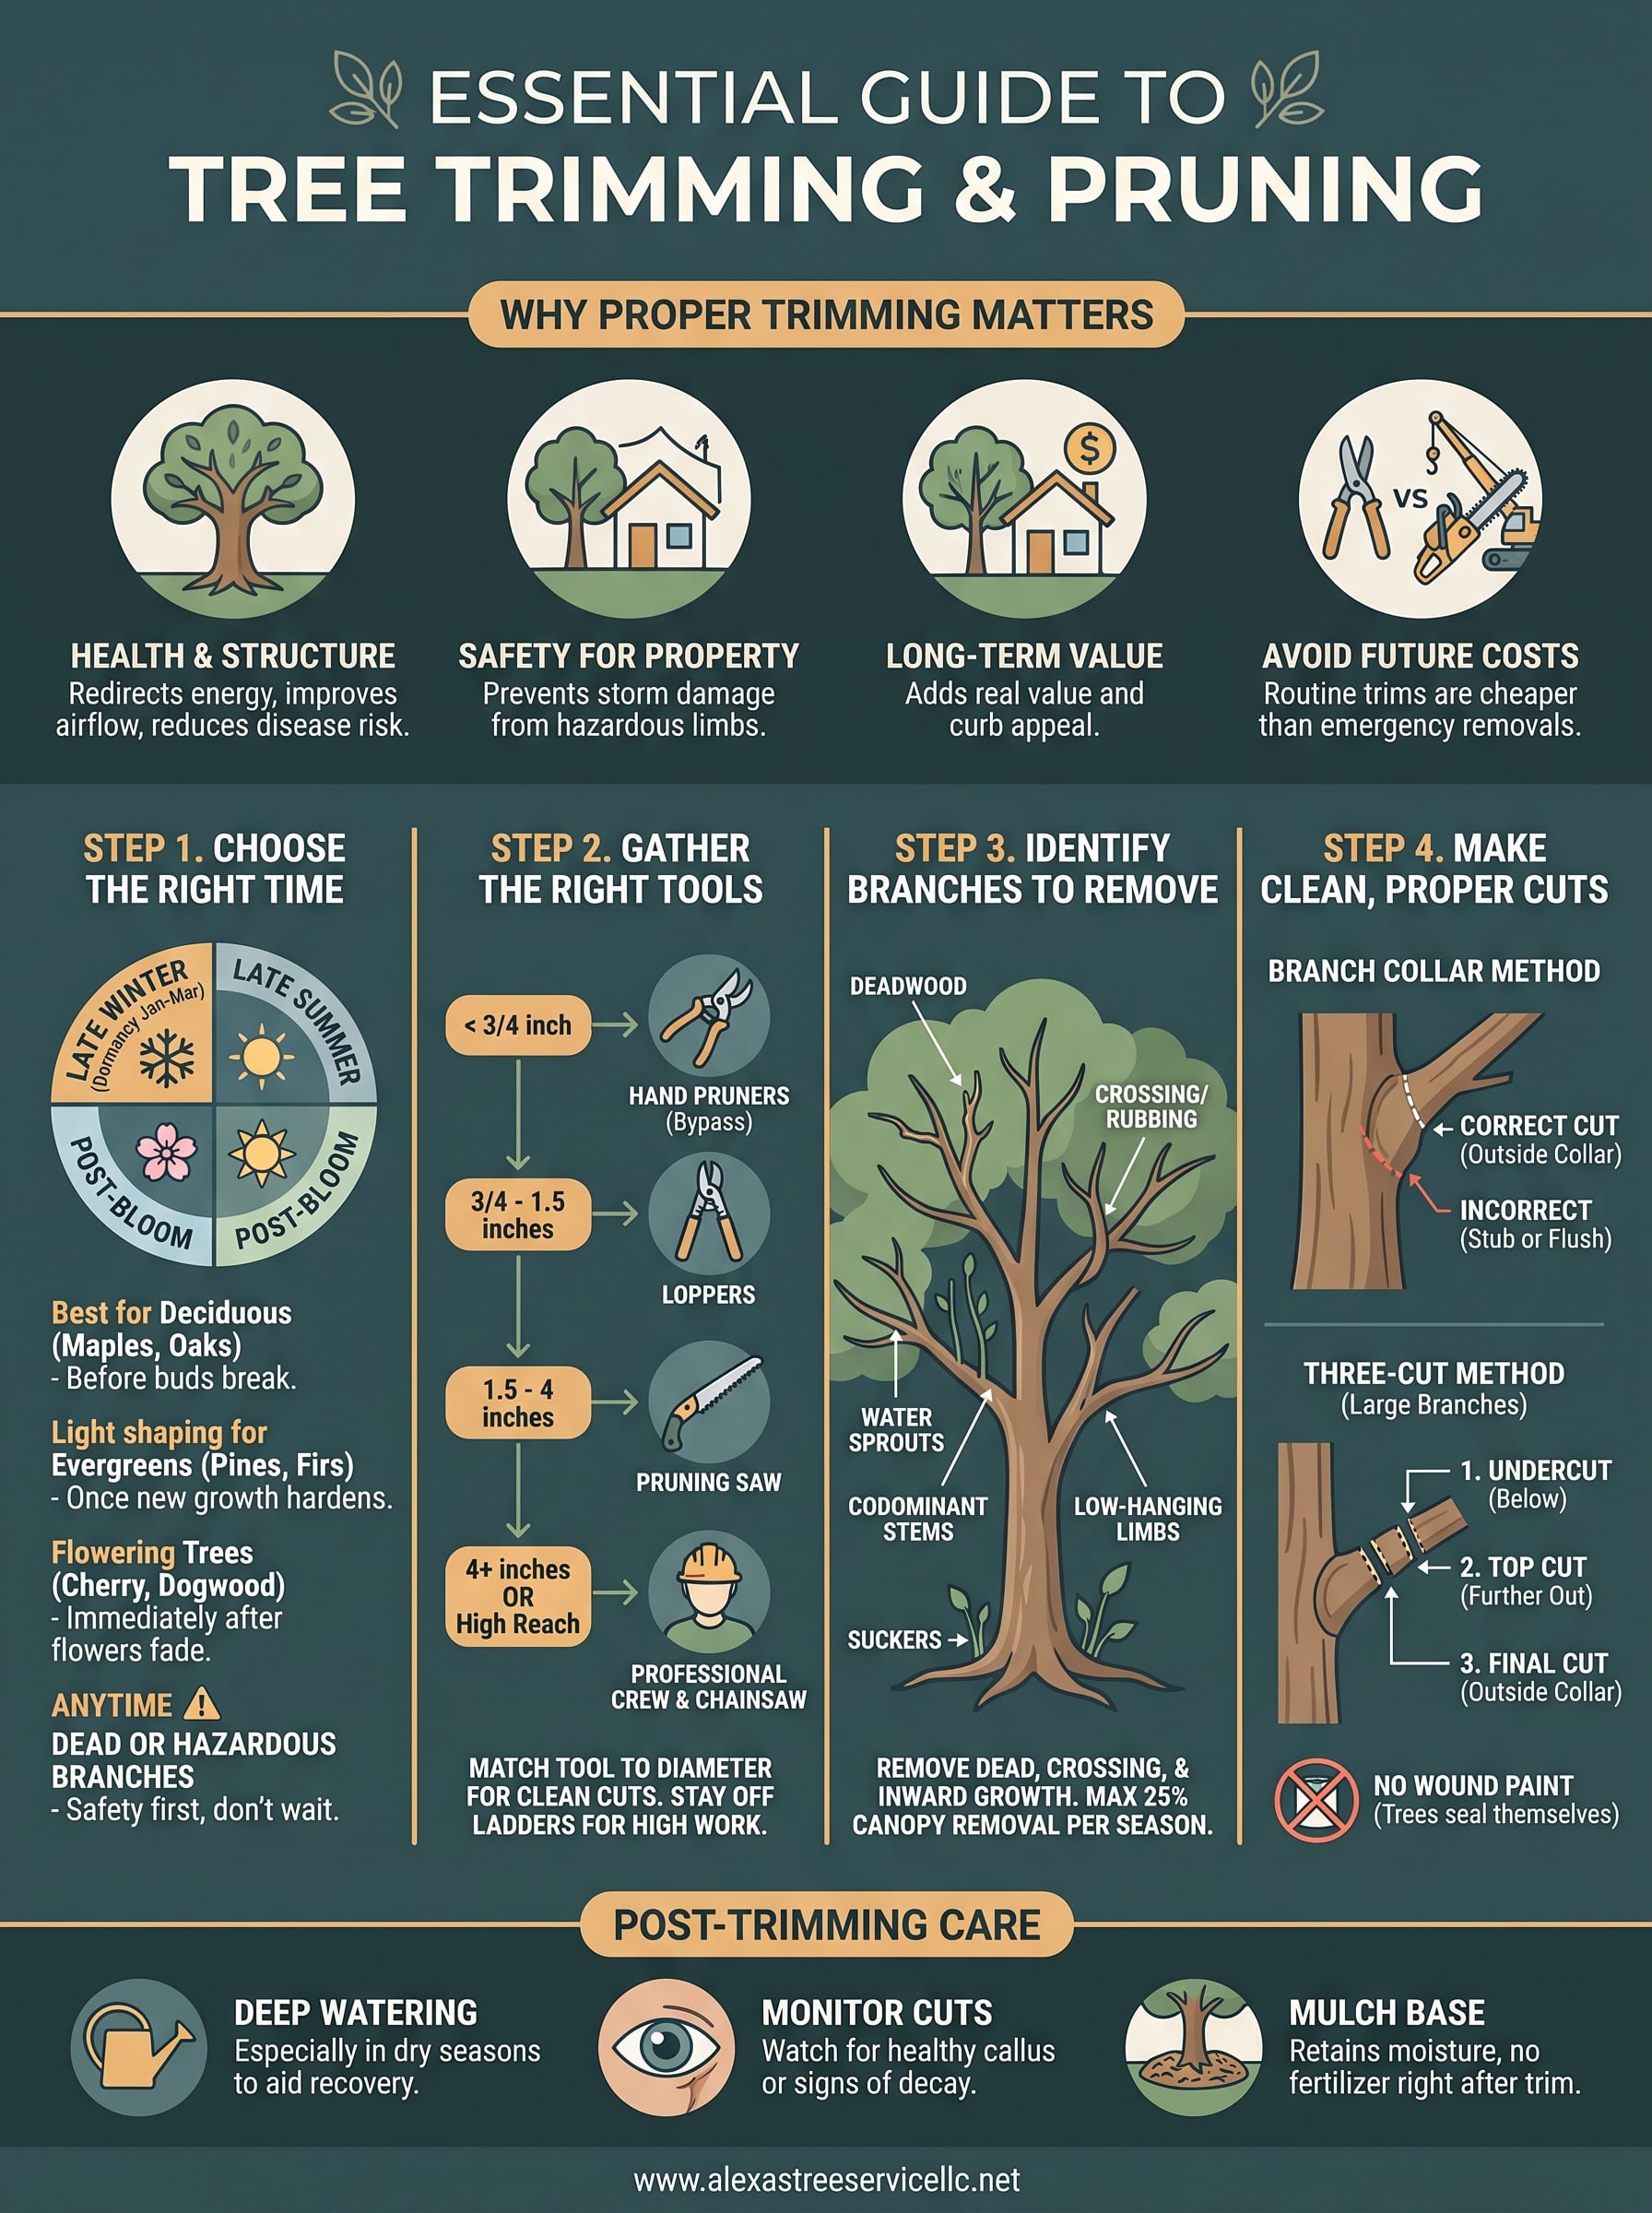
Timing matters more than most homeowners realize when it comes to trimming tree branches. Cut at the wrong point in the growing cycle and you risk sap loss, sunscald, or an open wound that invites pests before it can heal, so it pays to know the months you should avoid trimming altogether. Most deciduous trees in our region, maples, oaks, and dogwoods among them, do best when trimmed during late winter dormancy , roughly January through early March, before buds break and sap starts running, which is one reason winter is the ideal season for trimming here.
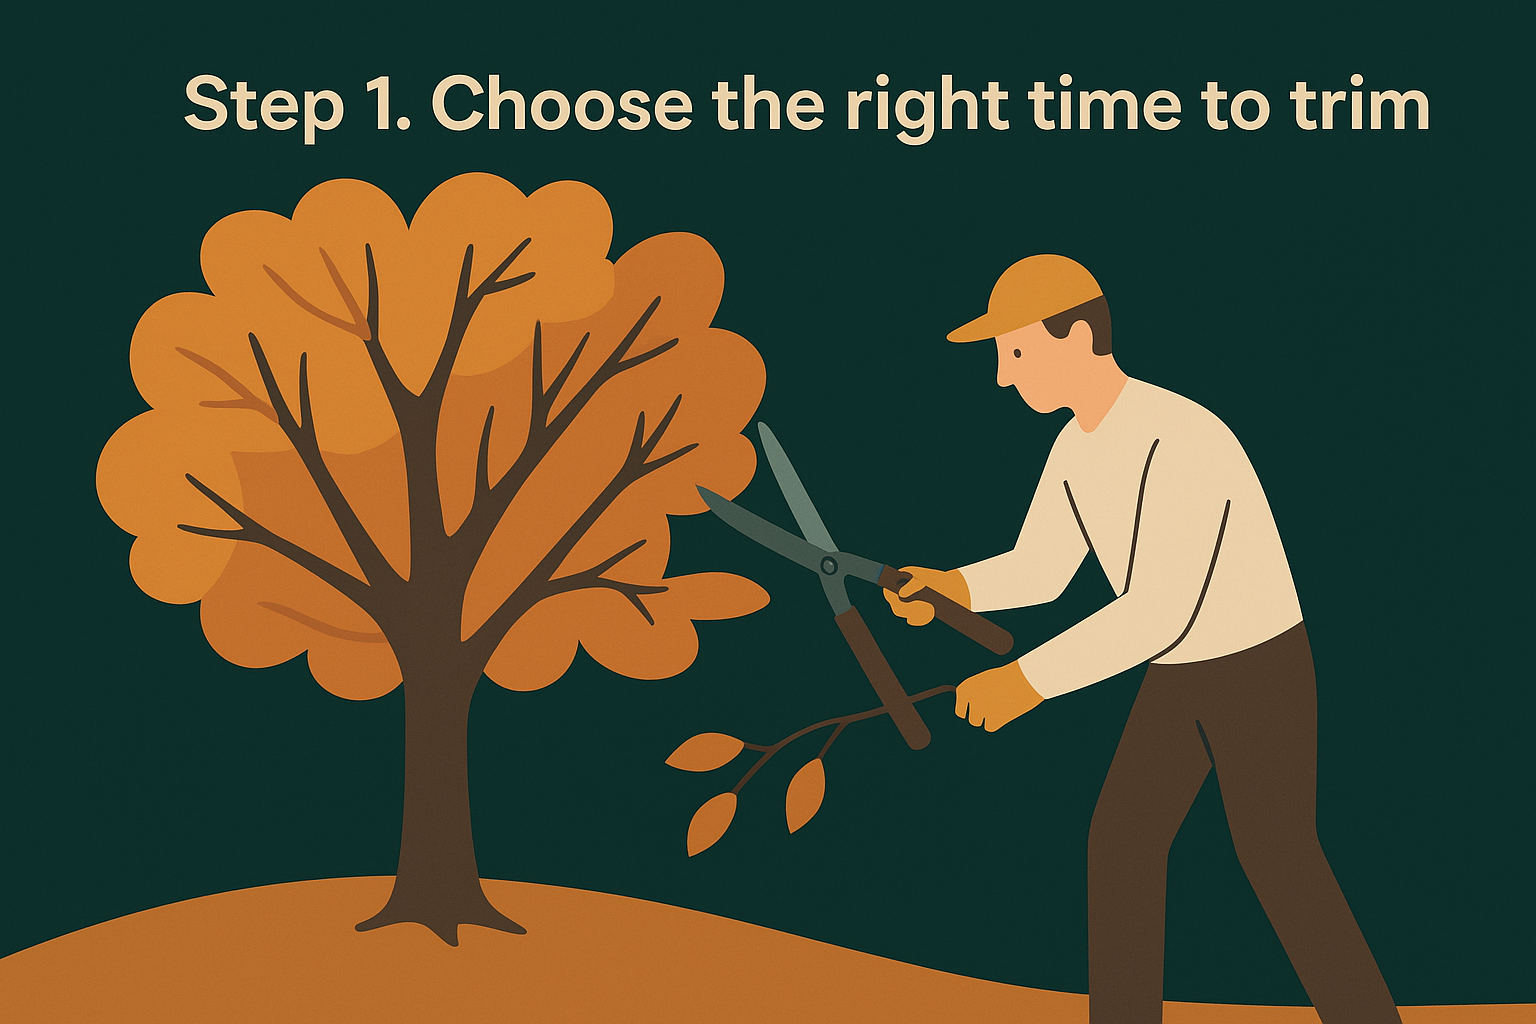
Prune while the tree is asleep, and it wakes up stronger.
Evergreens follow a different clock. Pines, firs, and cedars tolerate light shaping trims in late summer once new growth has hardened off, though we still avoid heavy cuts during active growth periods. Flowering trees like cherry and dogwood get pruned right after they bloom, so you don't cut off next year's flower buds by accident.
Here's a quick reference we use on job sites:
| Tree Type | Best Trimming Window |
|---|---|
| Deciduous shade trees (maple, oak) | Late winter dormancy (Jan-Mar) |
| Evergreens (pine, fir, cedar) | Late summer, light shaping only |
| Flowering trees (cherry, dogwood) | Immediately after bloom |
| Storm-damaged or hazardous limbs | Anytime, safety comes first |
One exception overrides every calendar rule above: dead or hazardous branches . If a limb is cracked, hanging, or threatening a roofline, remove it regardless of season. Waiting for the "right" month isn't worth the risk of it coming down on its own during the next Pacific Northwest windstorm.
Step 2. Gather the right tools for the job
Half the mistakes we see on DIY trimming tree jobs come from using the wrong tool for the cut, not the wrong technique. A pruning saw forced through a branch that needs loppers tears bark instead of slicing clean, and that torn edge is where rot and pests move in. Match the tool to the branch diameter, and the cut heals faster with less stress on the tree.
Quality matters here too. Dull blades crush wood fibers rather than cutting them, which slows healing and leaves the tree exposed longer than it needs to be.
A clean tool makes a clean cut, and a clean cut heals itself.
Before you climb a ladder or reach for a saw, run through this list:
| Tool | Best For | Branch Diameter |
|---|---|---|
| Hand pruners (bypass) | Twigs, small shoots | Under 3/4 inch |
| Loppers | Mid-size limbs | 3/4 to 1.5 inches |
| Pruning saw | Larger branches | 1.5 to 4 inches |
| Pole saw or pole pruner | High branches from the ground | Up to 4 inches |
| Chainsaw | Heavy limbs, removal work | 4+ inches |
Gloves, safety glasses, and a sturdy ladder round out the basics. If a job calls for a chainsaw or work above the second rung of a ladder, that's usually the point where it makes sense to call in a licensed crew instead of risking a fall or an improper cut you'll regret next season.
Step 3. Identify which branches to remove
Walk the full circumference of the tree before you make a single cut. Trimming tree limbs without a plan leads to lopsided canopies and missed problem branches hiding behind healthier growth. Start by looking for the obvious offenders: dead wood, split unions, and anything rubbing against another branch, all warning signs that a tree is overdue for pruning. Crossing limbs wear through bark over time, creating open wounds that invite decay long before you'd notice a problem from the ground.
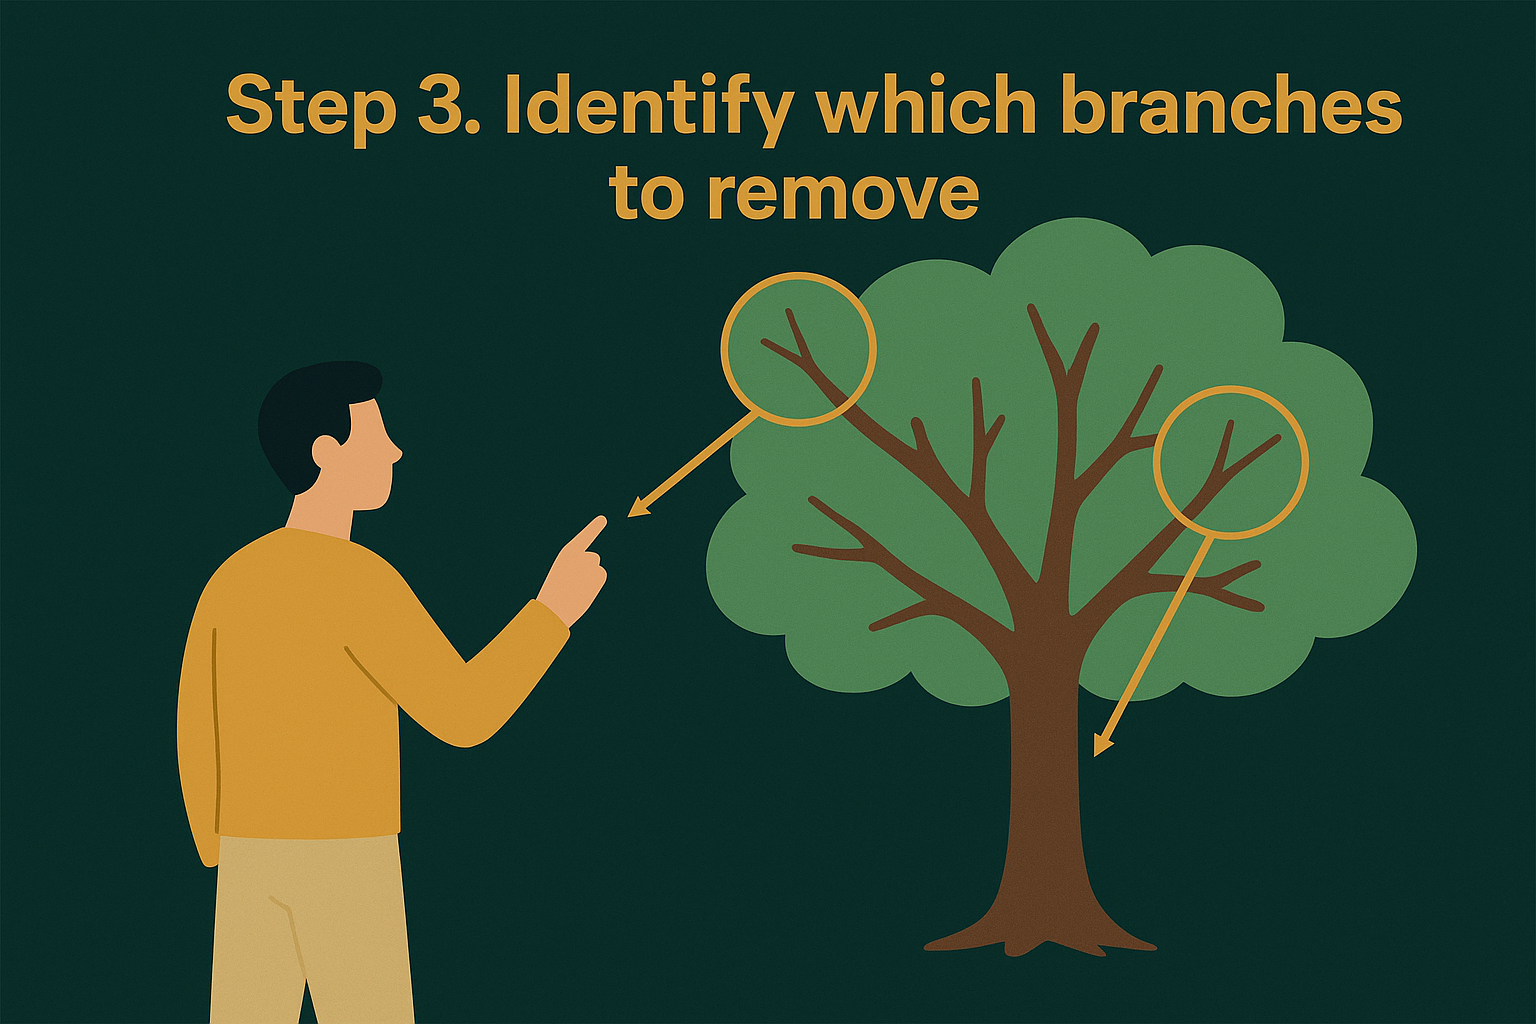
If a branch is dead, crossing, or growing inward, it needs to go.
Beyond the obvious, look for structural issues that affect the tree's long-term shape. Watch for these common candidates during your walk-around:
- Deadwood : brittle, bark-less branches with no leaf growth in season
- Crossing or rubbing limbs : two branches wearing against each other
- Water sprouts : thin, vertical shoots growing straight up from main limbs
- Suckers : growth sprouting from the base or roots
- Codominant stems : two trunks of similar size competing for the same space
- Low-hanging limbs : branches interfering with walkways, rooflines, or sightlines
Don't remove more than 25 percent of a tree's live canopy in a single season, even if several branches qualify. Over-thinning stresses the tree and can trigger a flush of weak, fast-growing water sprouts as it tries to recover, making it one of the pruning mistakes worth avoiding. If more than a quarter of the canopy needs work, spread the job across two seasons instead of pushing through it in one pass.
Step 4. Make clean, proper cuts
Once you know which limbs go, the actual cut determines whether the tree heals in weeks or struggles for years. Locate the branch collar , the slightly swollen ridge where the limb meets the trunk, and cut just outside it. Slicing into the collar or leaving a stub both slow healing and invite decay, so aim for that narrow zone every time.
Cut at the collar, not into it, and the tree seals its own wound.
For anything larger than a couple inches thick, skip the single cut. Use the three-cut method to prevent bark tearing as the branch drops:
- Undercut : Cut about a quarter of the way through the branch from below, roughly 18 inches out from the trunk.
- Top cut : A few inches further out, cut down until the branch falls, avoiding a bark tear back to the trunk.
- Final cut : Remove the remaining stub just outside the branch collar, angled slightly downward so water sheds off.
Skip the wound paint. Modern research from the U.S. Forest Service shows trees seal cuts faster on their own than with sealants, which can trap moisture instead of blocking it. Trimming a tree correctly means trusting the collar to do its job, not covering it up. Keep your saw sharp through the whole process; a dull blade near the finish line undoes the clean work you did on the first two cuts.
Keeping your tree healthy after trimming
Water deeply after any major trim, especially during dry Pacific Northwest summers when a stressed tree has less energy to recover. Watch the cut sites over the following weeks; healthy callus tissue should start rolling over the wound within a season, and any dark, wet, or spreading discoloration is worth a second look. Mulch around the base helps retain moisture without smothering the roots, and skip fertilizer right after trimming since new growth right after a cut can outpace the tree's ability to support it.
Getting trimming tree work right takes practice, the correct tools, and a good read on your species and season. If a job feels bigger than your ladder or your loppers can handle, that's the moment to bring in a crew that trims trees every week of the year. Reach out to Alexa's Tree Service for a free estimate on arborist trimming and pruning for your property before your next storm season arrives.